In this article:
- Getting started
- Filling in the basics
- Adding your ticket types
- Customizing your event form
- Promoting your event
- Managing your event
Having an ActBlue Express account makes it easy to create supporter forms. Log in to your ActBlue Express account or create an account .
As a supporter, you can create event-based fundraising pages directly from your Express account. Whether you want to host a fundraising dinner, watch party, postcard writing event, or phonebank for candidates and causes you support, supporter events give you specialized tools to organize, sell tickets, and raise money within your community.
Using our tools, you can easily sell and track tickets for an event and keep all of your fundraising in one place. Your guests can buy tickets using all the same payment methods they can use on regular contribution forms, including their debit/credit card, their saved card in their ActBlue Express account, PayPal™, Google Pay™, Apple Pay®, and Venmo™.
Getting Started
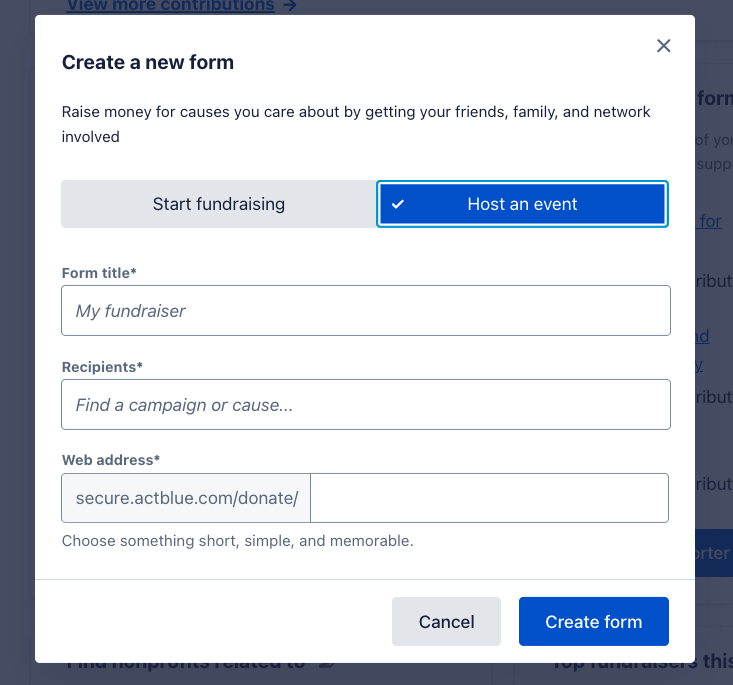
To create your supporter event form, click the blue ‘Create a supporter form”. In the toggle, select "Host an event" to access the specialized event hosting tools.
Filling in the Basics
You'll start by setting up the essential information that will help your friends, family, and community understand what you're organizing and why it matters.
- Event Title: Choose a clear, engaging name for your event (don't worry - you can change this later)
- Recipients: Search for the candidate or organization you want to add and select their name.
- Web address: Your event will get its own custom link to share
Once you create your form, the link goes live immediately, but we recommend completing all your event details before sharing it widely.
Adding your ticket types
You can create as many ticket levels as you’d like. To begin, go to the main menu of the form editor and open the 'Tickets' tab.
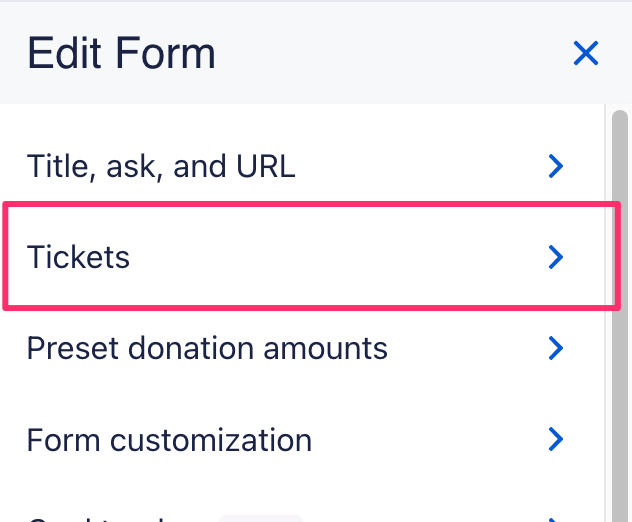
Click the green 'Add ticket type' link to start adding ticket choices.
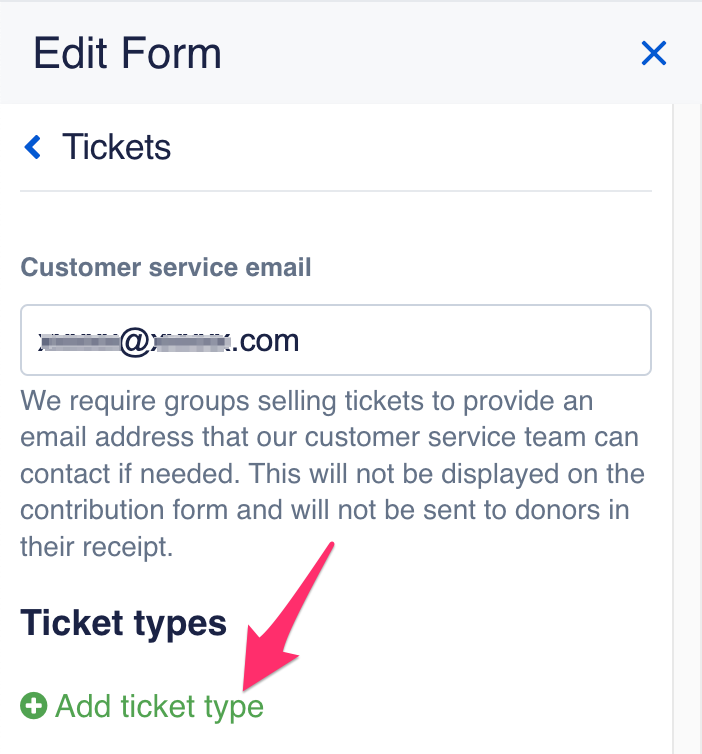
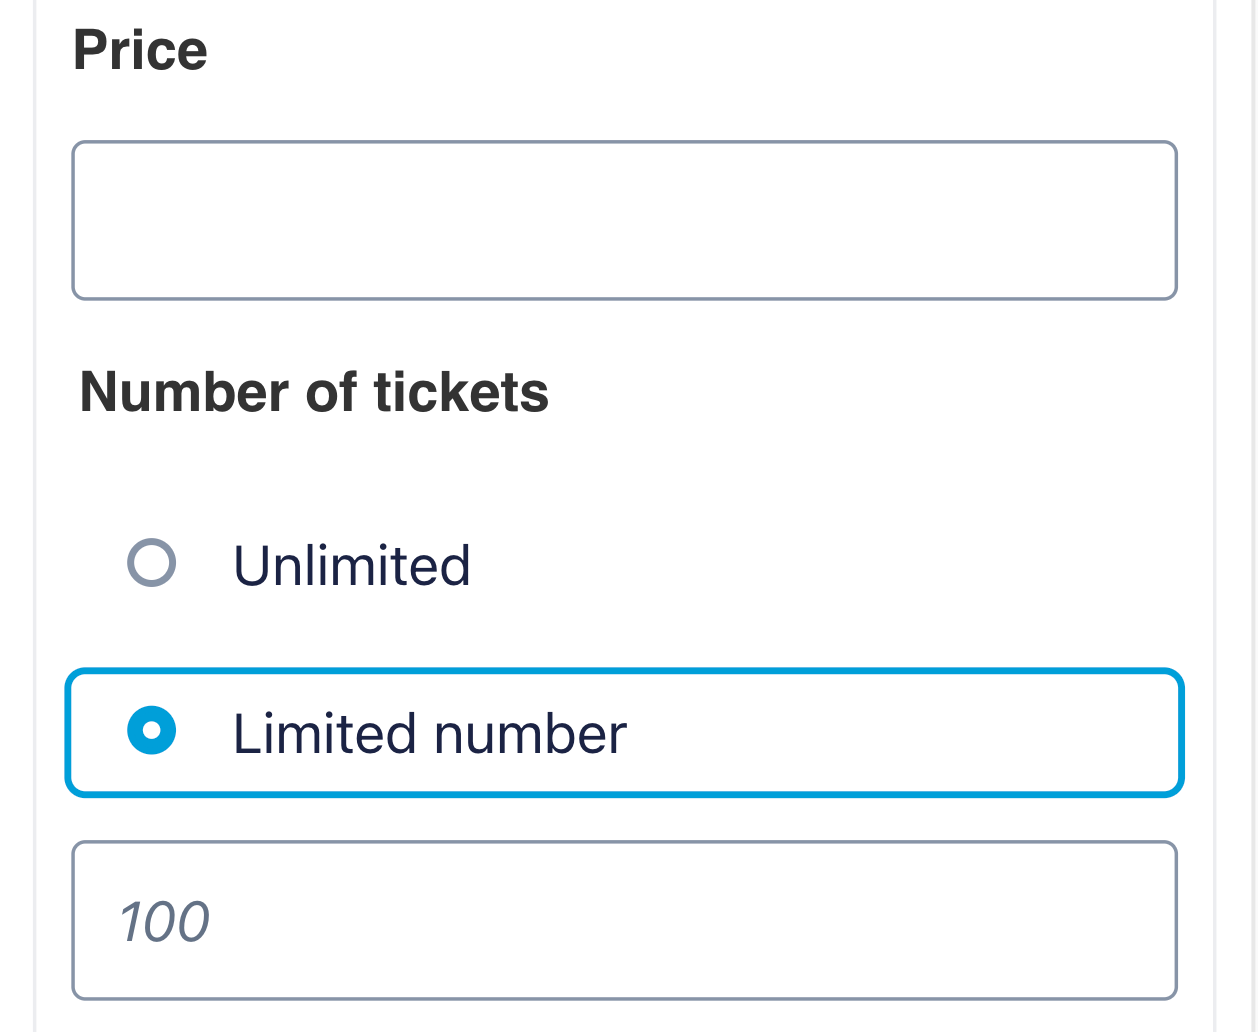
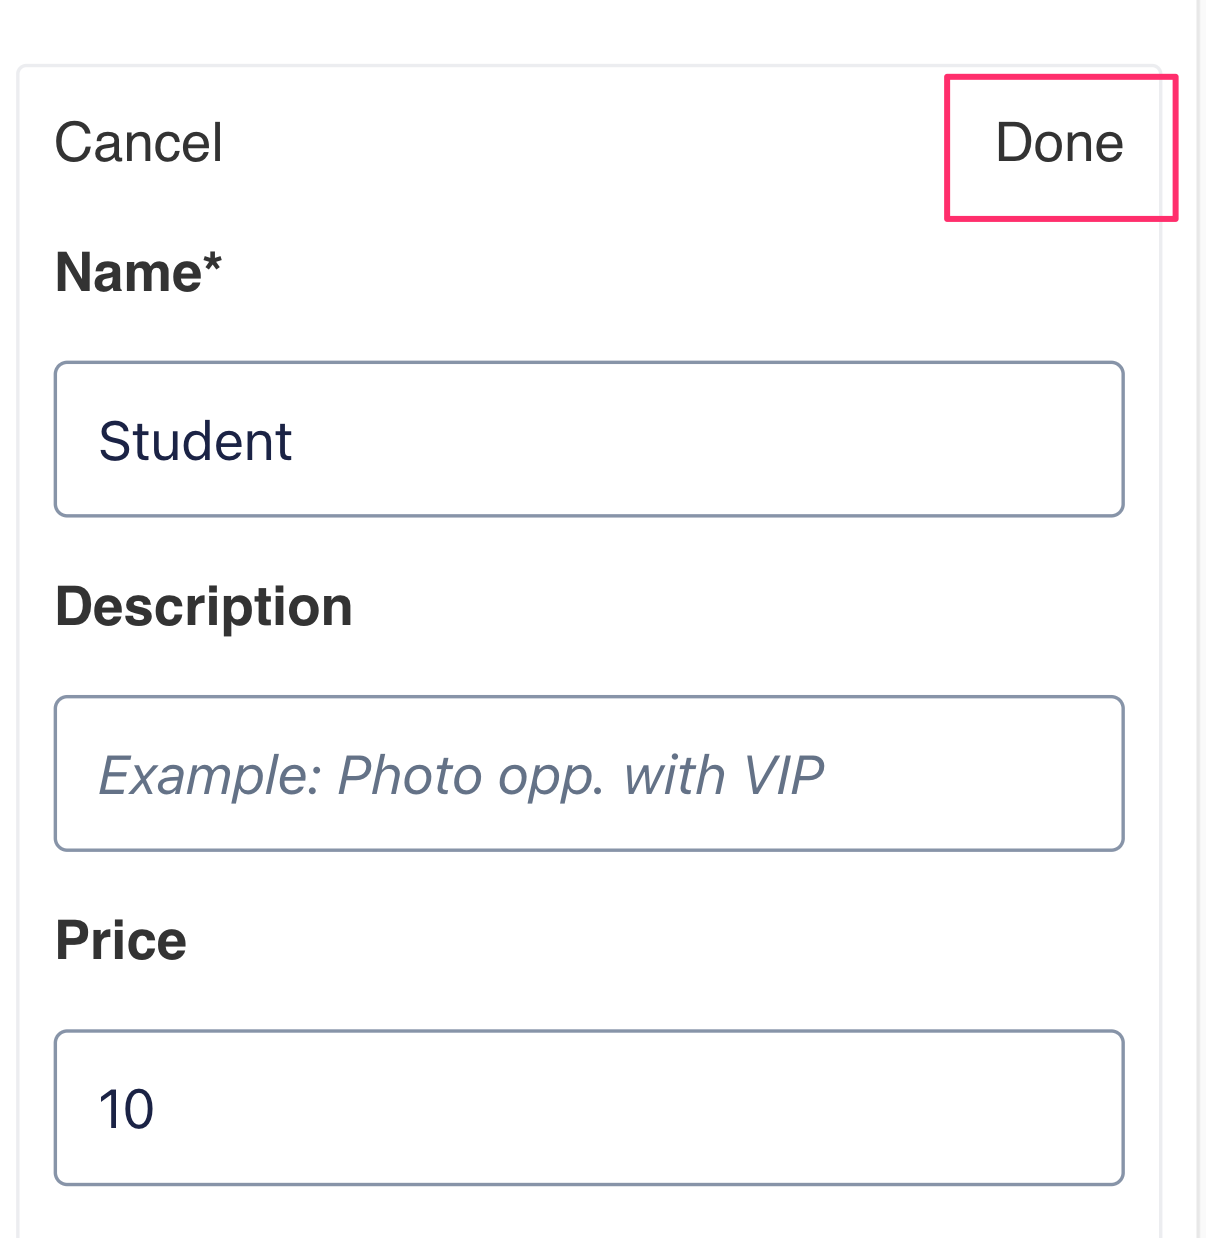
Fill out the ticket name, description, price, and ticket limit information.
If you want to include an option for free tickets, add a ticket type and leave the “Price” field blank. The ticket price for this ticket option will appear on the form as “Free!”

The “Can’t Attend?” donation box will appear under all of your ticket prices so supporters can contribute even if they can’t attend the event. This donation box is on every form by default and cannot be removed.
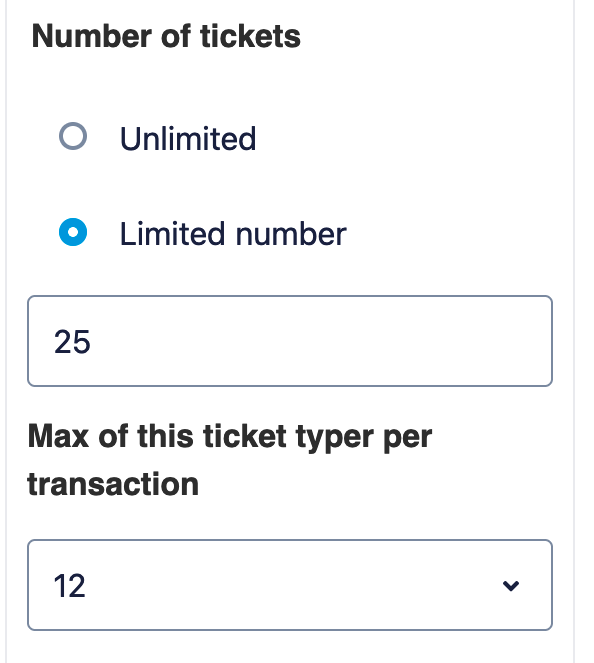
In the “Number of tickets” section, choose if you want to offer an unlimited or limited number of that ticket type. This is useful if you have limited space. If you select “Limited number,” you’ll be prompted to enter a specific number of tickets that can be sold. Once you reach the limit, that ticket type will sell out and the option will be automatically removed from the form (you can always come back to the form editor and increase the ticket limit).
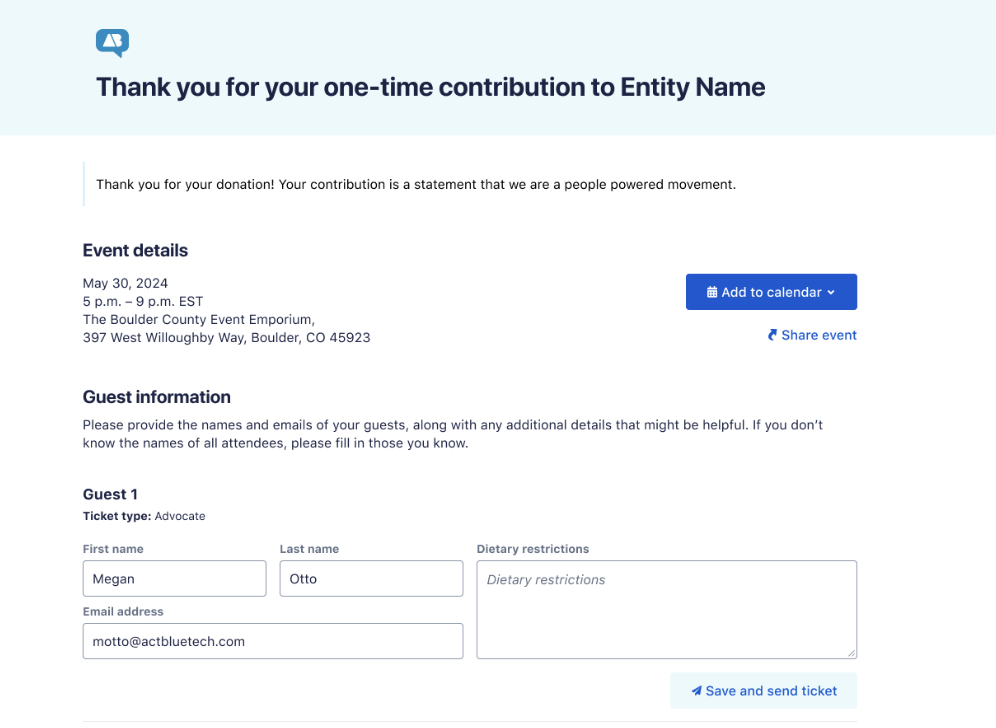
After purchasing a ticket, buyers will be asked for the name(s) of the guest(s) attending and any notes they may have, as shown below. Buyers will now also be given the option to add your event to their Google, Apple, or Outlook calendar by clicking the 'Add to Calendar' button at the top of the receipt page.
You can set a per transaction limit on tickets under “Max of this ticket type per transaction.” This prevents purchasers from buying over a certain amount of a single kind of ticket.
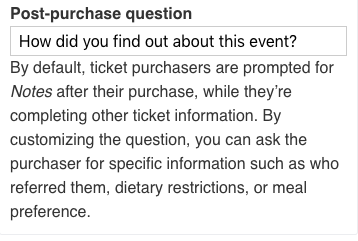
If you’d like to ask your guests something specific, you can write your own label or question in the “Post-purchase question” field. Your custom text will replace “Notes” in the ticket information form your guests fill out.
Once you have finished creating your ticket type, click the 'Done' button in the right-hand corner.
Your ticket will be shown on your form preview, but you must click the green 'Publish' button in the form editor to actually save the tickets you create.
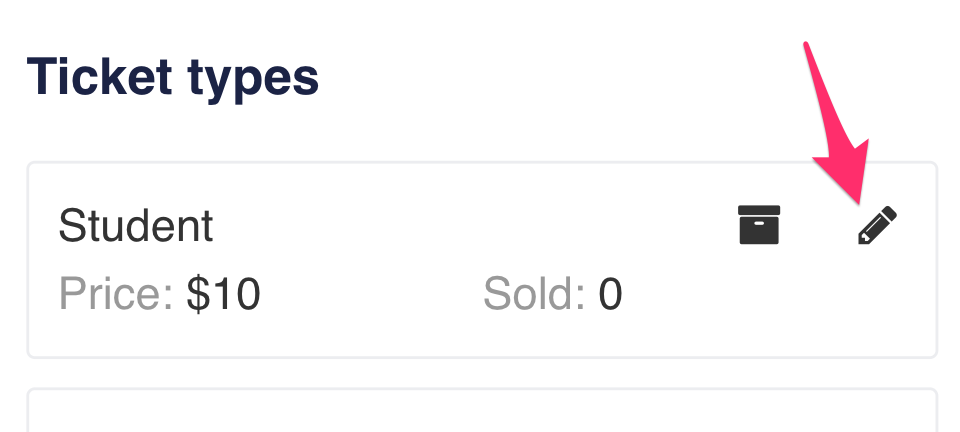
If you want to edit a ticket type after creating it, click on the pencil icon in its box.
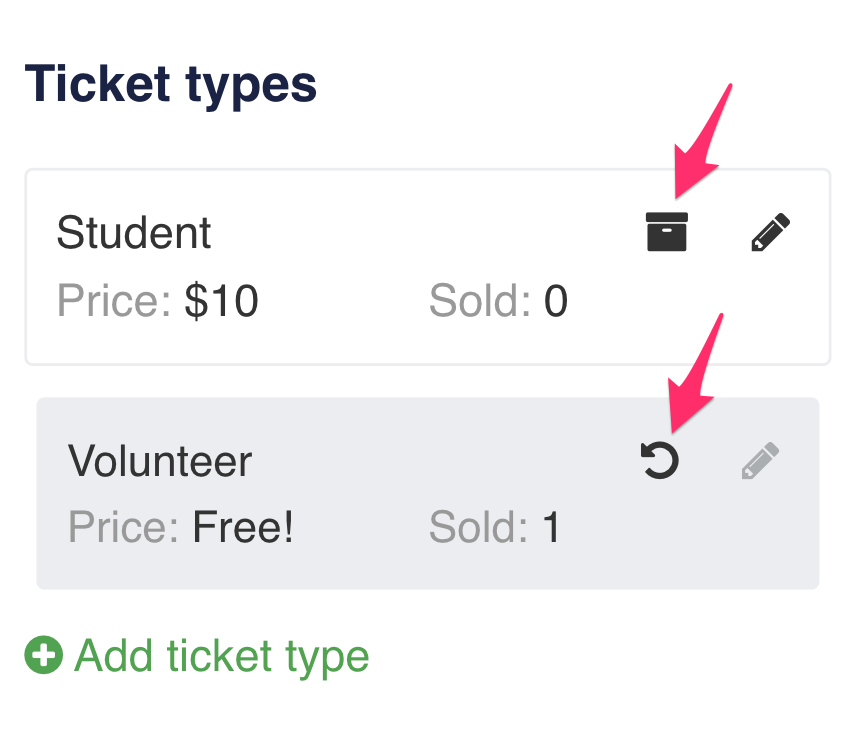
To remove a ticket type from your form, click the archive icon. You can bring back an archived ticket type by clicking on the reset arrow.
Your ticket options could be adult, child, student, etc., but you may also choose to create specific donor levels such as friend, host, sponsor, and VIP. To change the order of tickets on your form, just drag and drop your tickets in the order you want. Don't forget to always publish your changes!
Customizing your event form
Under the Event Details tab, you can provide event details like location and time. Now that you’ve got the basics, you’re ready to customize your event form!
In the 'Thanks and receipt' tab of the form editor, customize the messages your donors will see after buying a ticket. We recommend thanking your guests for buying a ticket and including any information you only want guests to know, such as the address or personal contact information of the event coordinator, in the 'Email receipt text' section. If you create a ticket type that allows entry for multiple guests, be sure to ask for all of the guest names in your email receipt text.
Lastly, in the 'Social share and promote' tab you can customize the messages and graphics that will appear on Facebook or Twitter if your supporters choose to share their purchase on social media. Find out how to create standout reusable and default social share settings here!
Promoting your event
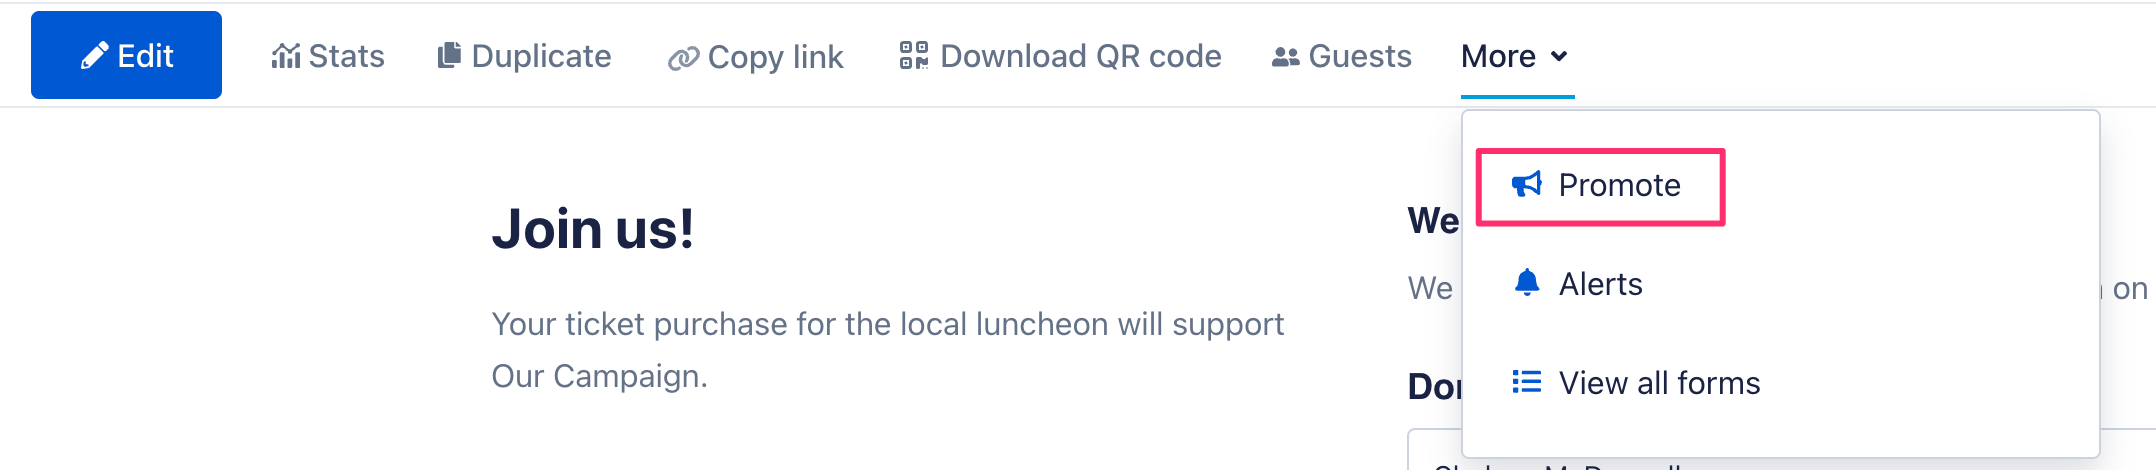
If you’re having hosts sell tickets on your behalf, it’s important to keep track of how many tickets each of them sells. After publishing your changes in the form editor, close the editor, click the “More” dropdown from the form navbar, and click the “Promote” button.
Here, you can create a custom link for your event form for each host to use when they sell tickets. To do this, type the host’s name (or other identifying feature, if you prefer) in the “Refcode” box.
Original link:

Custom link:
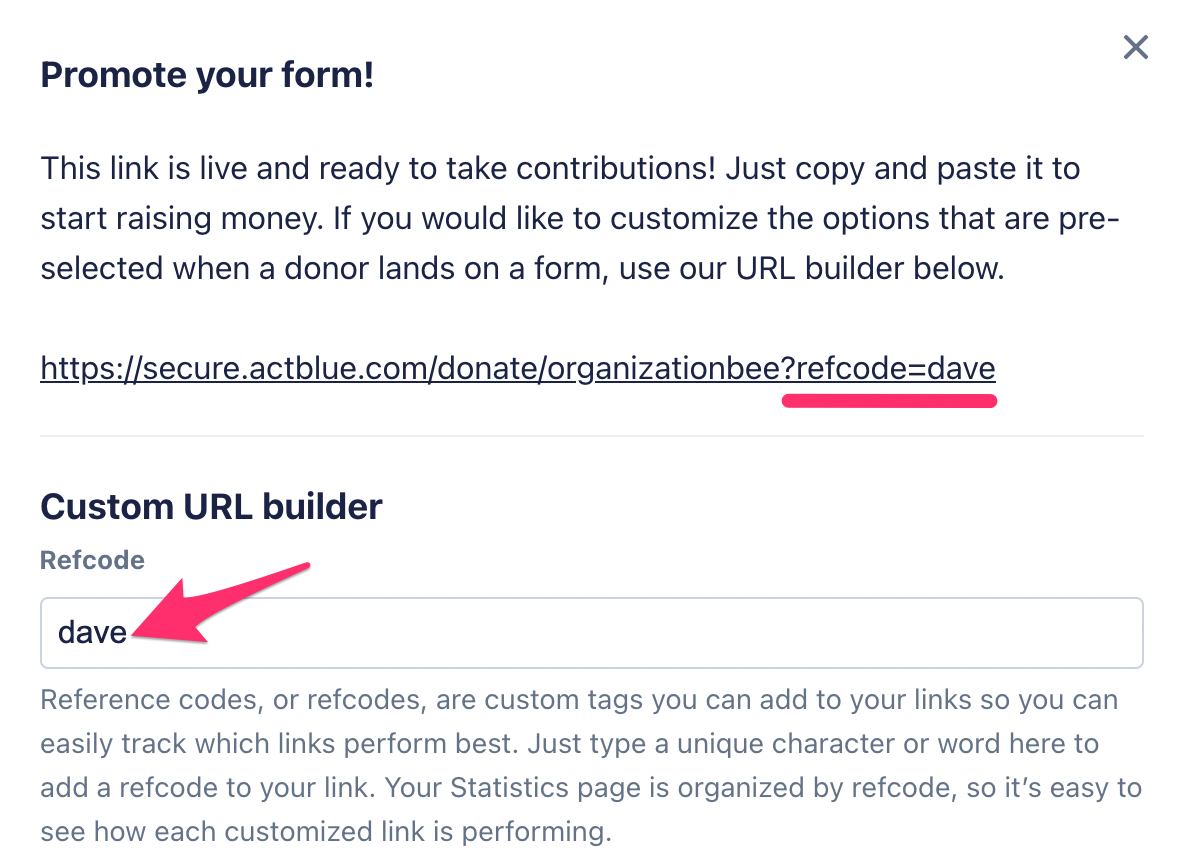
Every donor that uses a host’s custom link to buy a ticket will be tagged with the host's name (or whatever you set as the custom refcode). This way, hosts are guaranteed to get credit for each contribution, and you can easily track their progress in real time in your form’s “Statistics” page. To learn more about refcodes, click here.
Now your event form is complete!
Managing your event
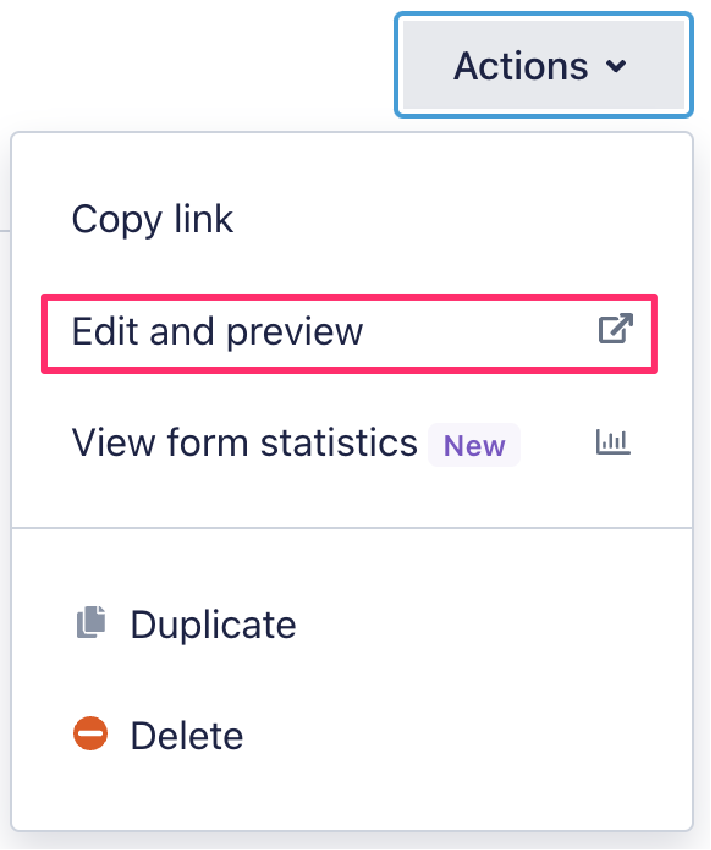
If you need to edit your event form, click “Fundraising” in the left navigation bar.
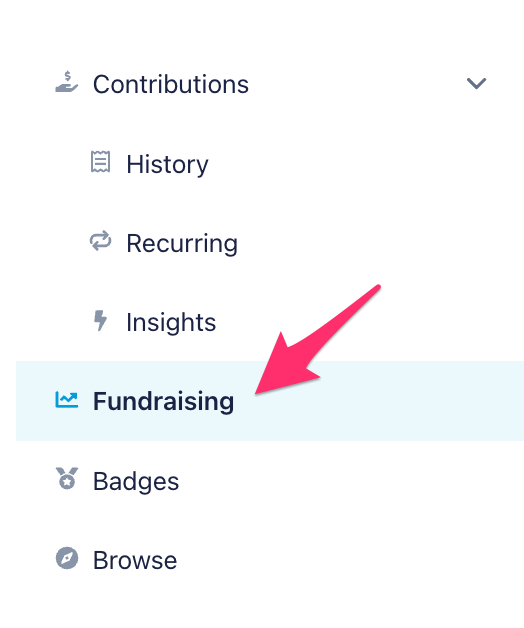
On the Fundraising page is a list of your supporter forms. To open and edit your form from the Fundraising page, click the dropdown next to your form’s title and select “Edit and Preview.” When your form opens, click the blue “Edit” button to make changes.