
Disclaimer: ActBlue user roles and permissions dictate what users can do on our platform. If the tools or features mentioned in this article are unavailable to you, please speak to your Dashboard Admin(s) about updating your permissions.
In this article:
Additional Resources:
- Figuring out which webhook type you will need to use
- Building an integration on top of ActBlue Default webhooks
- For vendors: Requesting a webhook
ActBlue webhooks are a way to connect your ActBlue contribution data to third-party services like a content management system, mailer, or customer relationship management system.
What is a Webhook?
A webhook is a way to notify when an event has occurred. When you receive a contribution through ActBlue, we’ll send this information to the location (endpoint URL) you provide. We can notify you when three events happen: contributions, refunds, and recurring contribution cancellations.
Contribution data is described in the notifications as contributions from donors to entities. They include the donor’s name, address, employer, contribution form used, and other personal information. Read more about the information included in these notifications.
You can now activate a new webhook in the Integrations tab of your Dashboard. Choose the webhook you need from a dropdown menu depending on what service you want to connect with or whether you’re building a custom integration.
Read our guide on webhook types to understand which one you will need.
We currently offer the following webhooks:
- ActBlue Default
- ActBlue Default Refunds
- ActBlue Default Cancellations
- Ad Tracking
- Blue State Digital
- OSDI
- Salsa
Through our Vendor Form and our self-serve integrations, you can connect your contribution data with the following platforms:
- ActionKit
- Action Network
- Blue State Digital
- CallTime
- Campaign Deputy
- ISP
- NationBuilder
- NGPVAN Digital 8
- Numero
- Salsa
- Switchboard
- Tatango
- Trilogy
- And more!
Creating a New Webhook
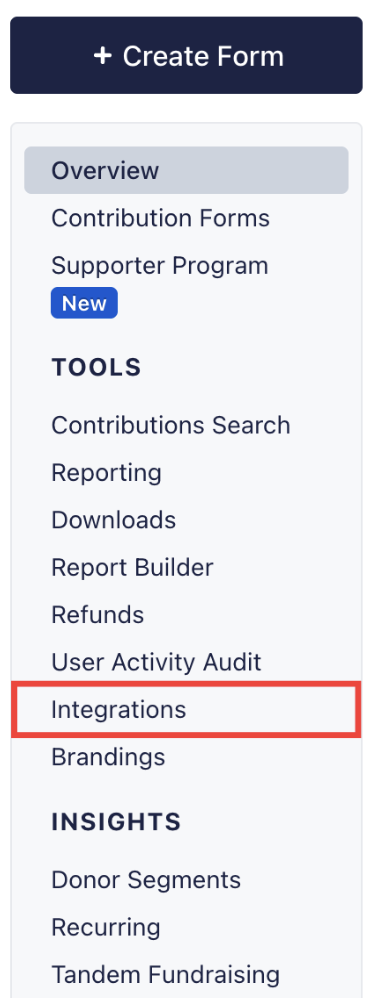
Step 1: Click the Integrations tab on your Dashboard
From your Dashboard toolbar, click the 'Integrations' tab under the 'Tools' heading, then select 'Webhooks.' If you've set up webhooks before, you’ll see a list of requested, active, and inactive webhooks:
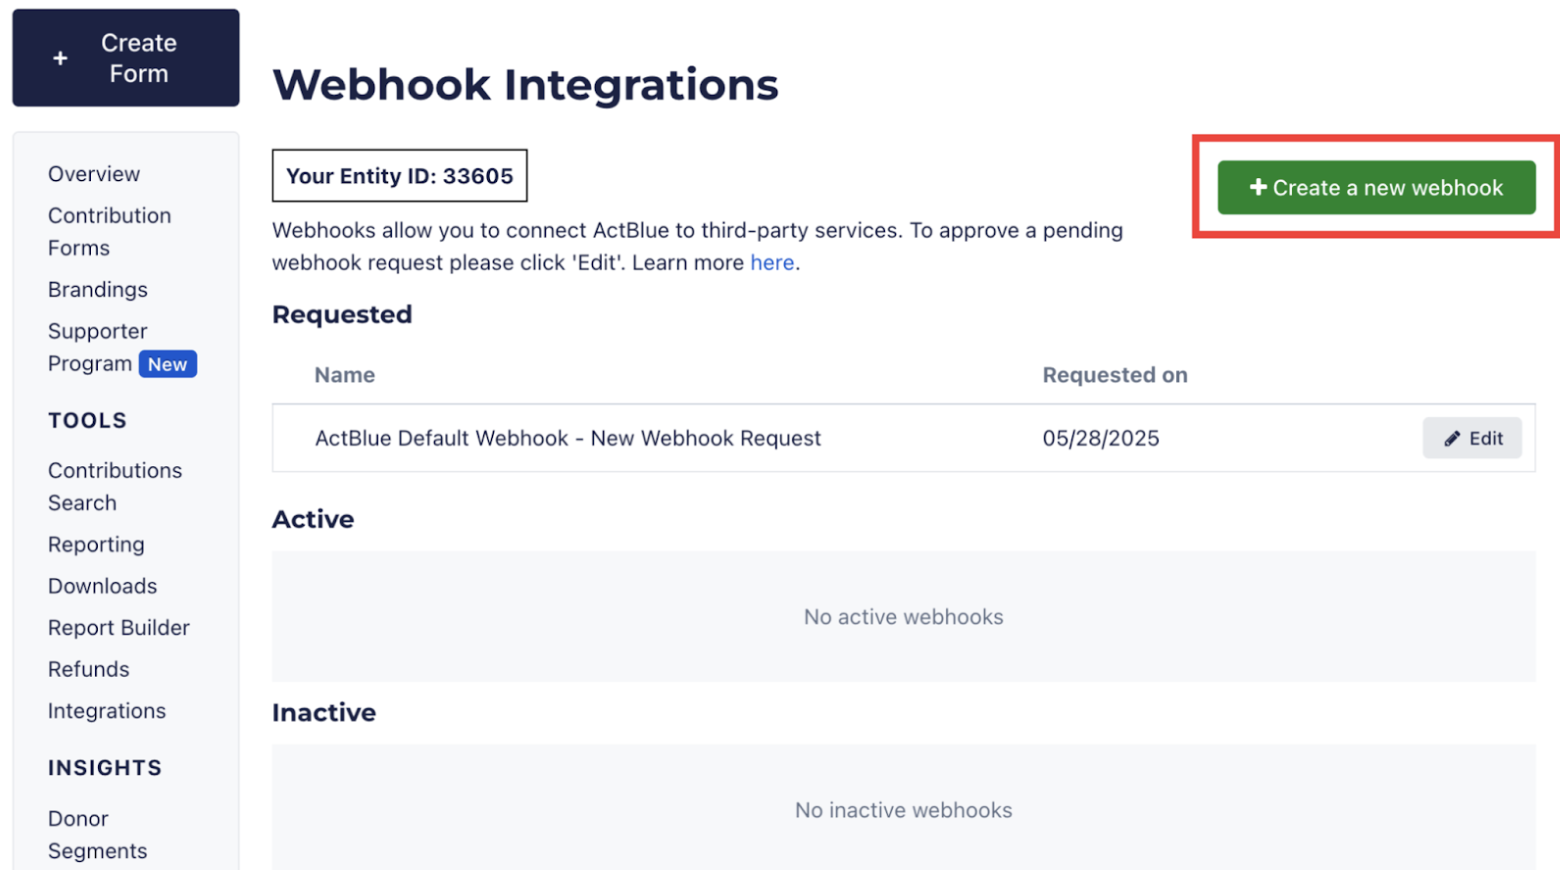
Step 2: Create a new webhook
Click the green “Create a new webhook” button in the top right:
Step 3: Select the webhook type you need from the dropdown menu
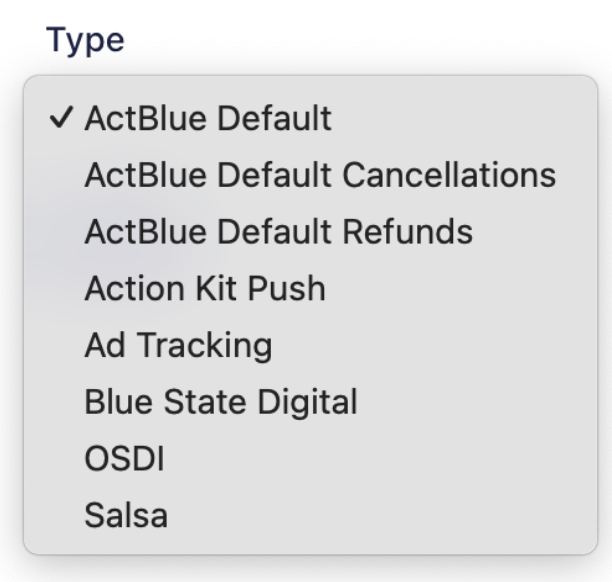
After choosing the webhook you need, click “Next.”
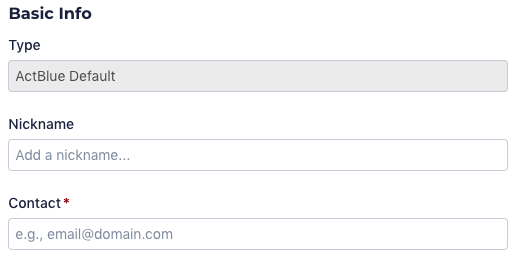
Step 4: Enter some basic information
You have the option to include a nickname for your webhook. We recommend you do this to help you differentiate similar webhooks.
Enter the email of your campaign or organization’s main point of contact. We will contact this person about activating your webhook, so make sure the email is accurate.
Step 5: Enter your endpoint and credentials
The endpoint URL and credentials required in this section depend on your webhook type. Check our guide for what specific information you’ll need.
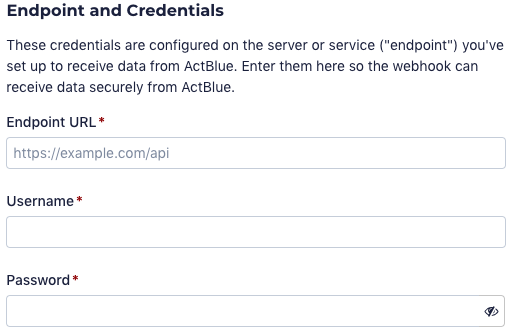
The “Endpoint URL” is where you’d like ActBlue to send your contribution data, and it needs to be a secure URL that begins with “https://”
The “Username” and “Password” fields are the credentials for your endpoint.
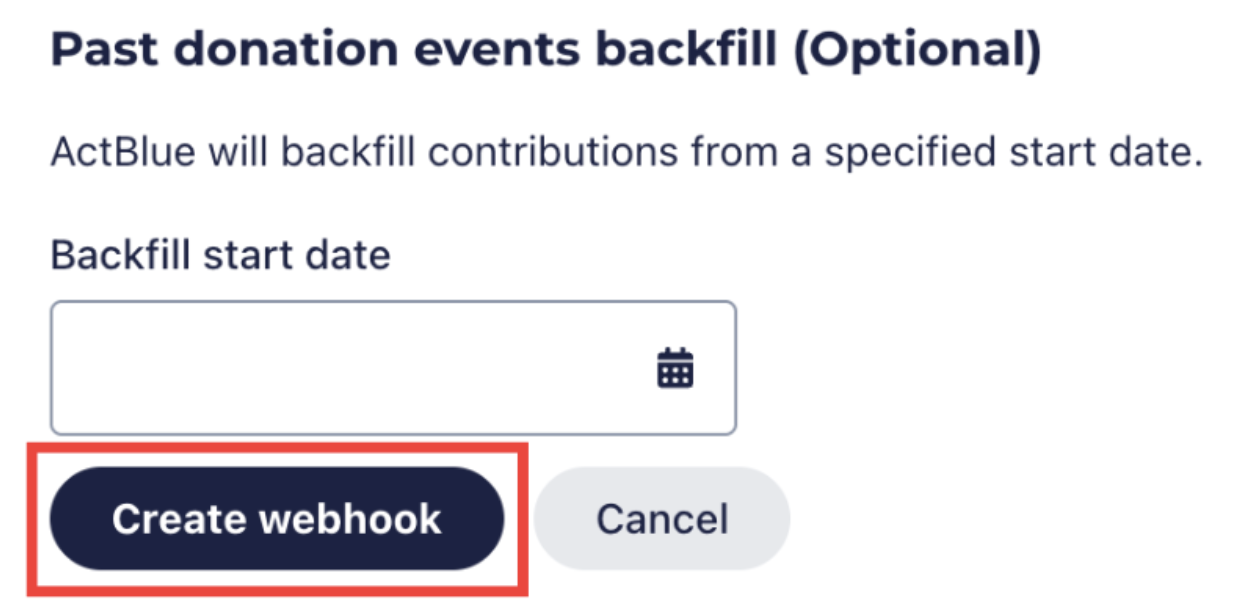
Step 6: Optional: Include a “Backfill” date
If you set up a webhook for the first time and have previous donations with ActBlue, you can receive these notifications with our backfill feature.
Select your data’s date range under “Requested backfill start date (optional).”

Step 7: Create the webhook
Once you’ve entered the required information, click the ‘Create webhook’ button at the bottom of the page:
Approving a Vendor Webhook
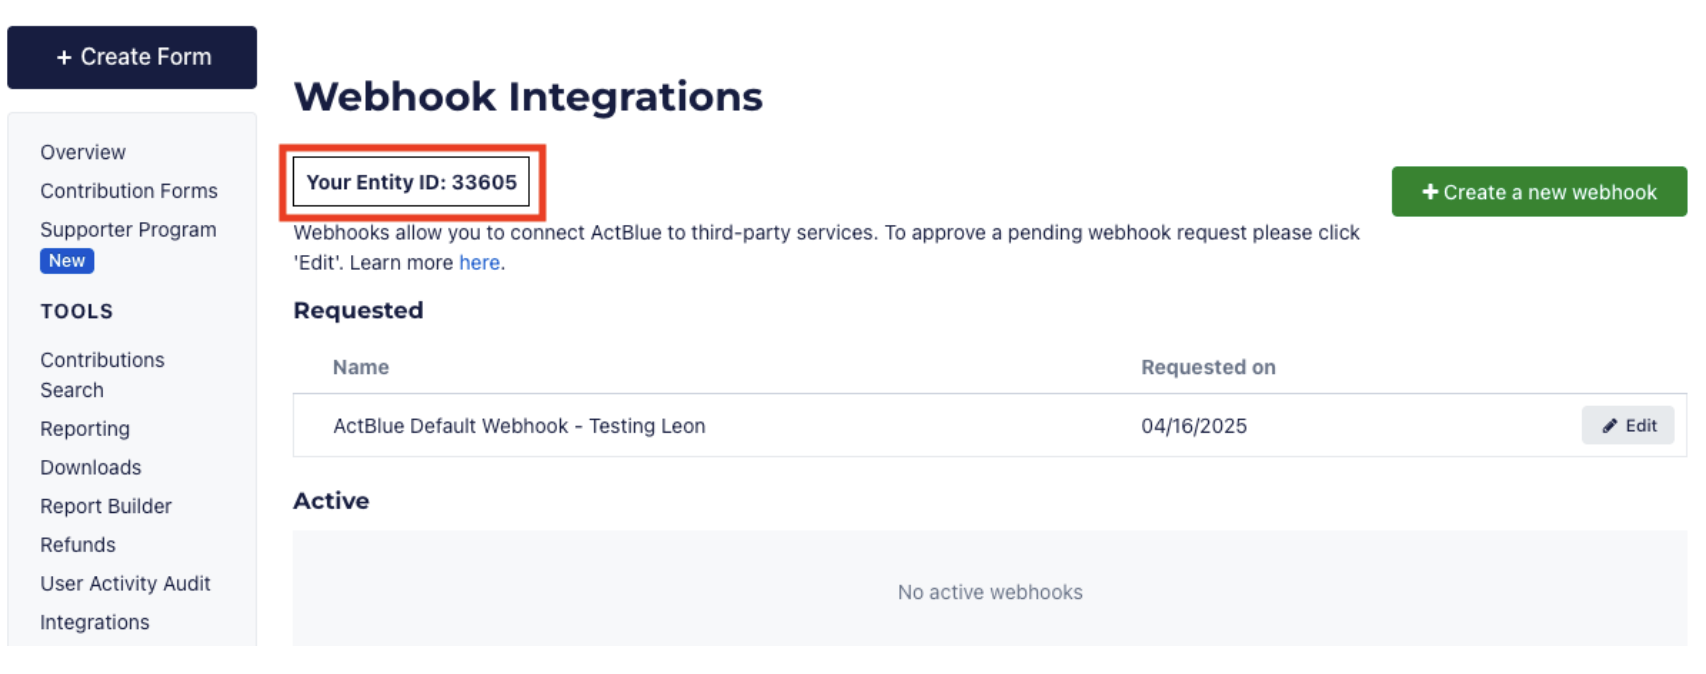
If you are working with a third-party vendor, they can set up a webhook on behalf of your campaign or organization using our Vendor Request Form. Your vendor will need the Entity ID of your ActBlue account, which you can find listed on the ‘Webhook Integrations’ page. From your Dashboard toolbar, click the 'Integrations' tab under the 'Tools' heading, then select 'Webhooks.'
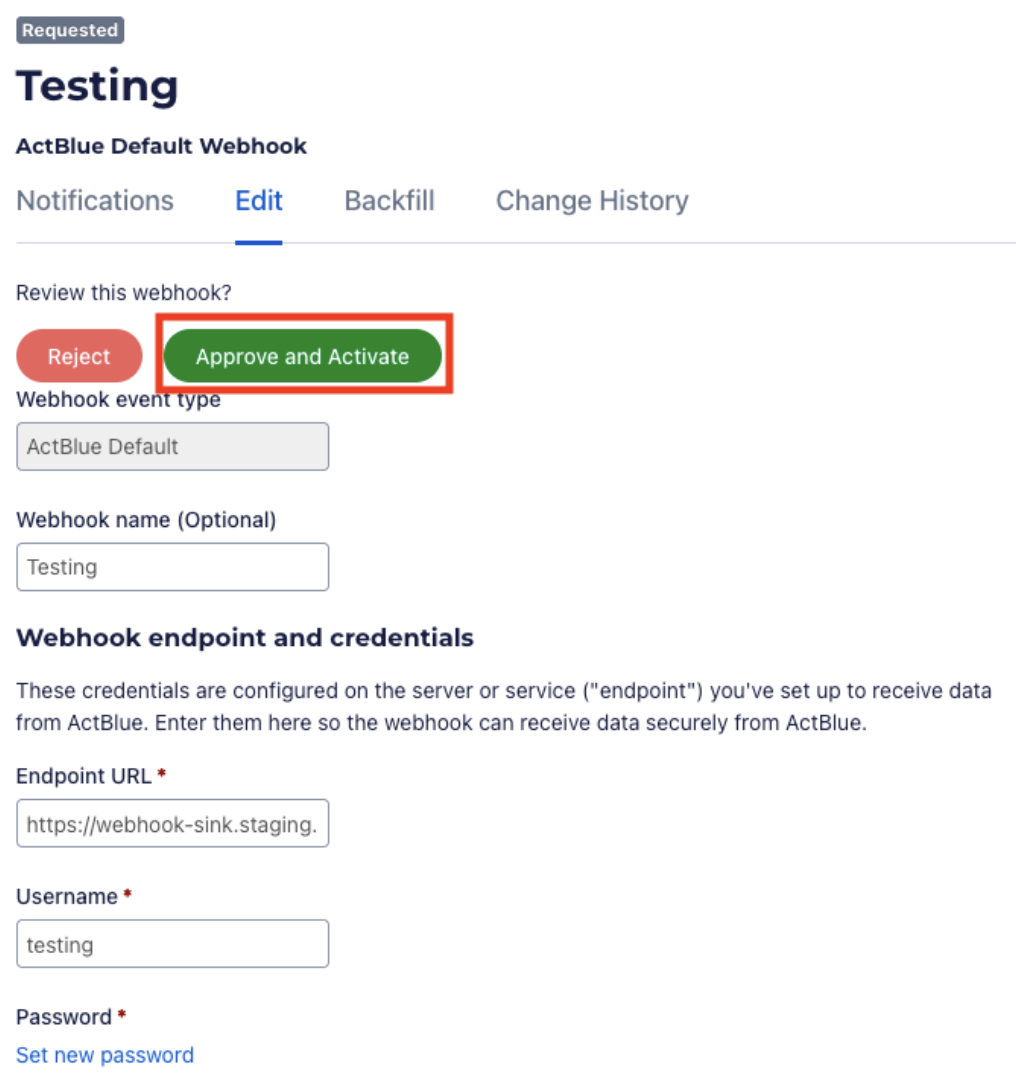
Once your vendor has submitted the webhook request, it will appear on the ‘Webhook Integrations’ page of your account, under Requested. Click “Edit” to view the integration details.
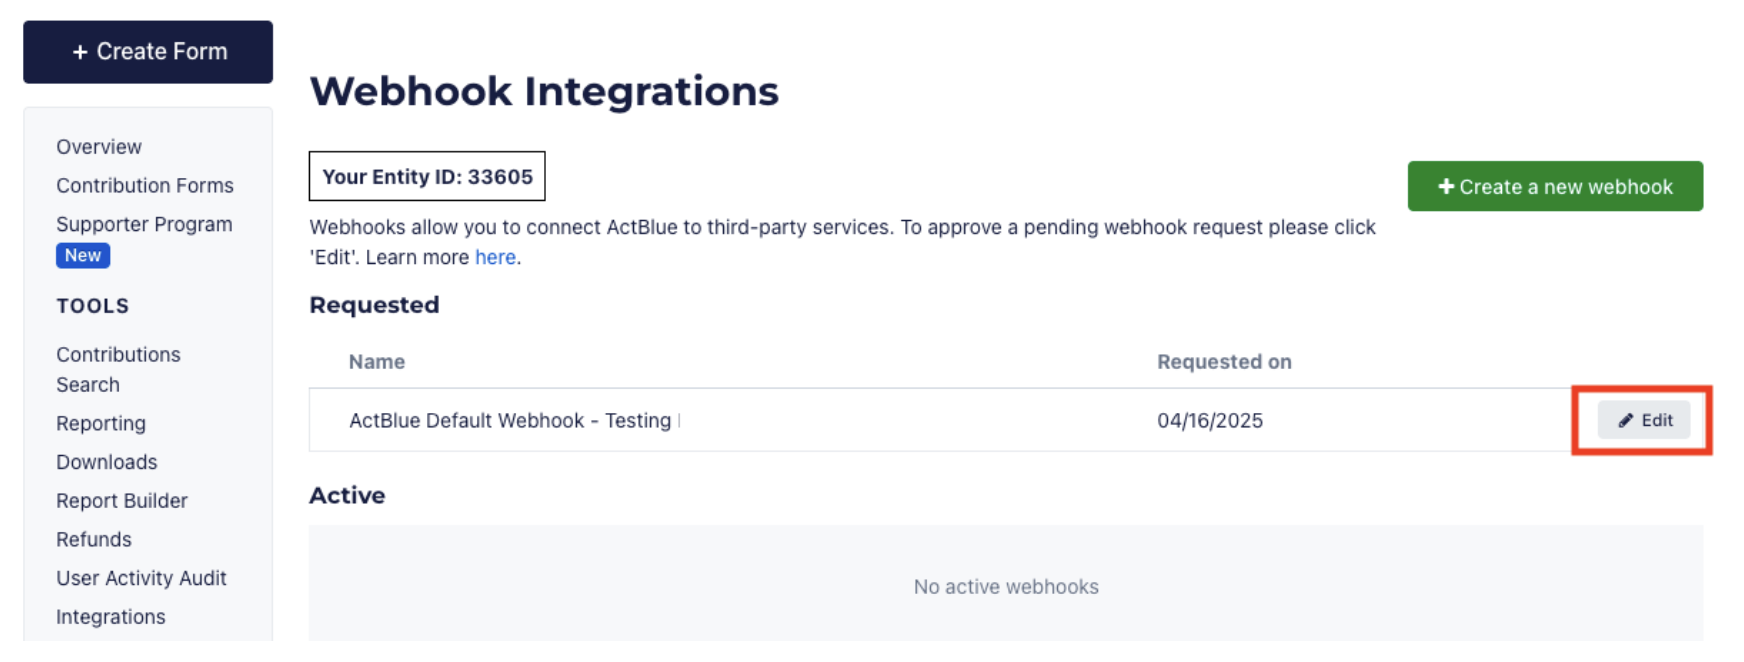
Once you’ve confirmed that the details look correct and that the request is from a trusted vendor, click “Approve and Activate” to initiate the flow of data. If your vendor included a backfill date in their request, that backfill will run as when you click “Approve and Activate.”
Finding and Editing a Webhook
You can always find your webhooks in the ‘Integrations’ tab of your Dashboard toolbar.
Click the ‘Edit’ button to make changes to a specific webhook.

You can update a webhook’s basic information, like nickname, contact email, and credentials. Click “Save” after making updates.
Once a backfill of data has been run, you cannot edit the start date you specified for the backfill, but you can request a new backfill. When editing a webhook, Click the “Backfill” tab. Select a start date and end date for your new backfill using the date pickers. Once you’re ready to run the backfill, click “Queue Syncing.”
